
AP9 / AP9 Mounting Arm
Part Number
KSAGN04
Weight
2 lb / 0.9 kg
Arm Dimensions
ø 1" x W 12.32" - 15.43"x H 20.78" /
ø 2.54cm x W 31.29cm - 39.19cmx H 52.78cm
Maximum Height
17 inches above surface
※ For AP9X / AP9XE ONLY
Product Information
Overview
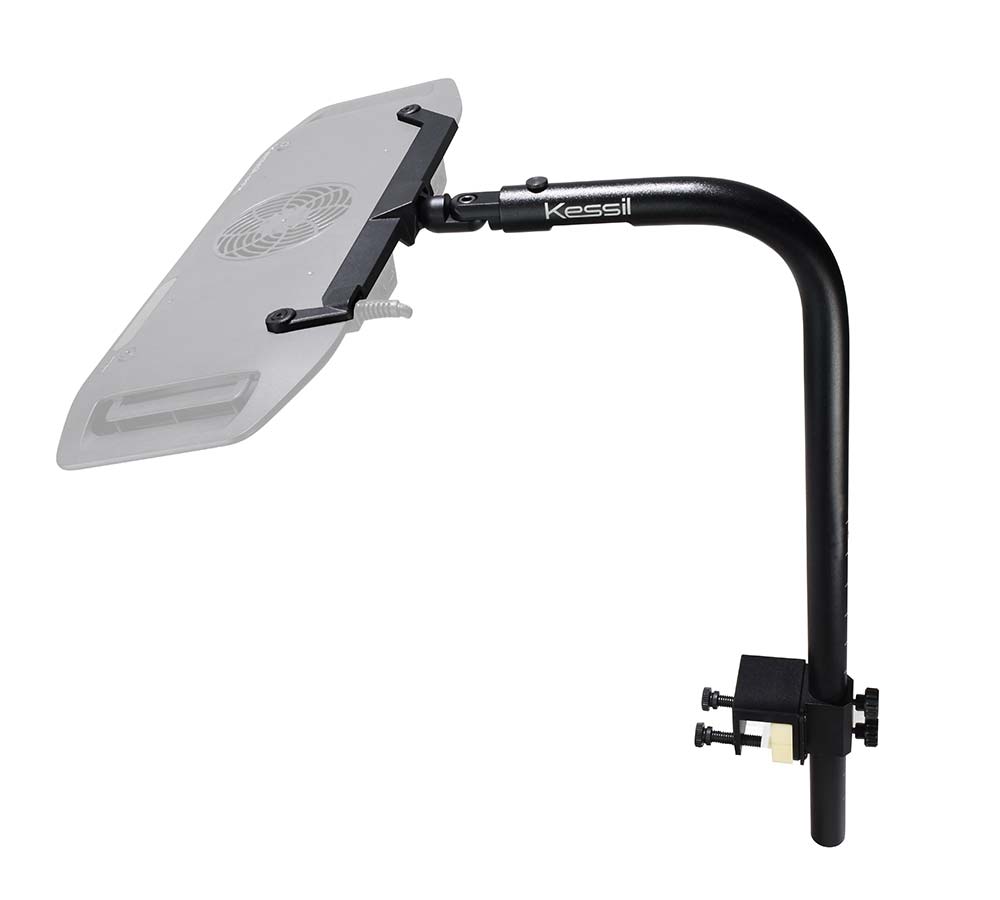
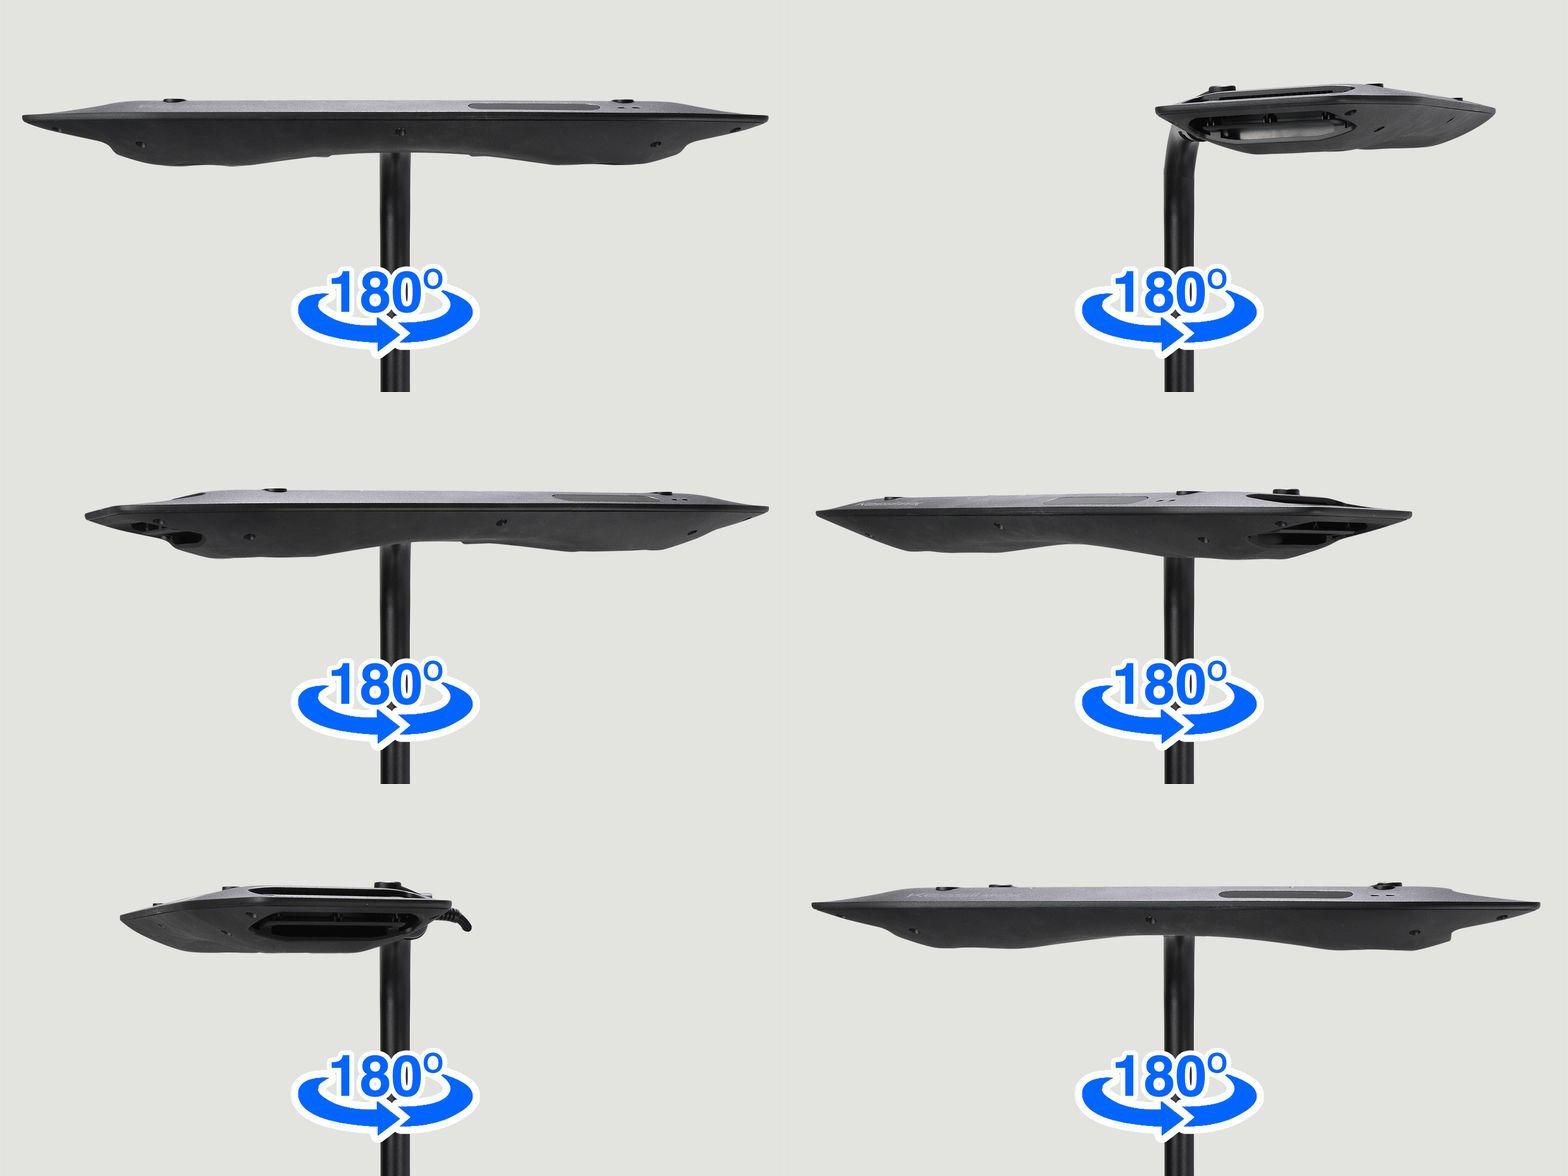
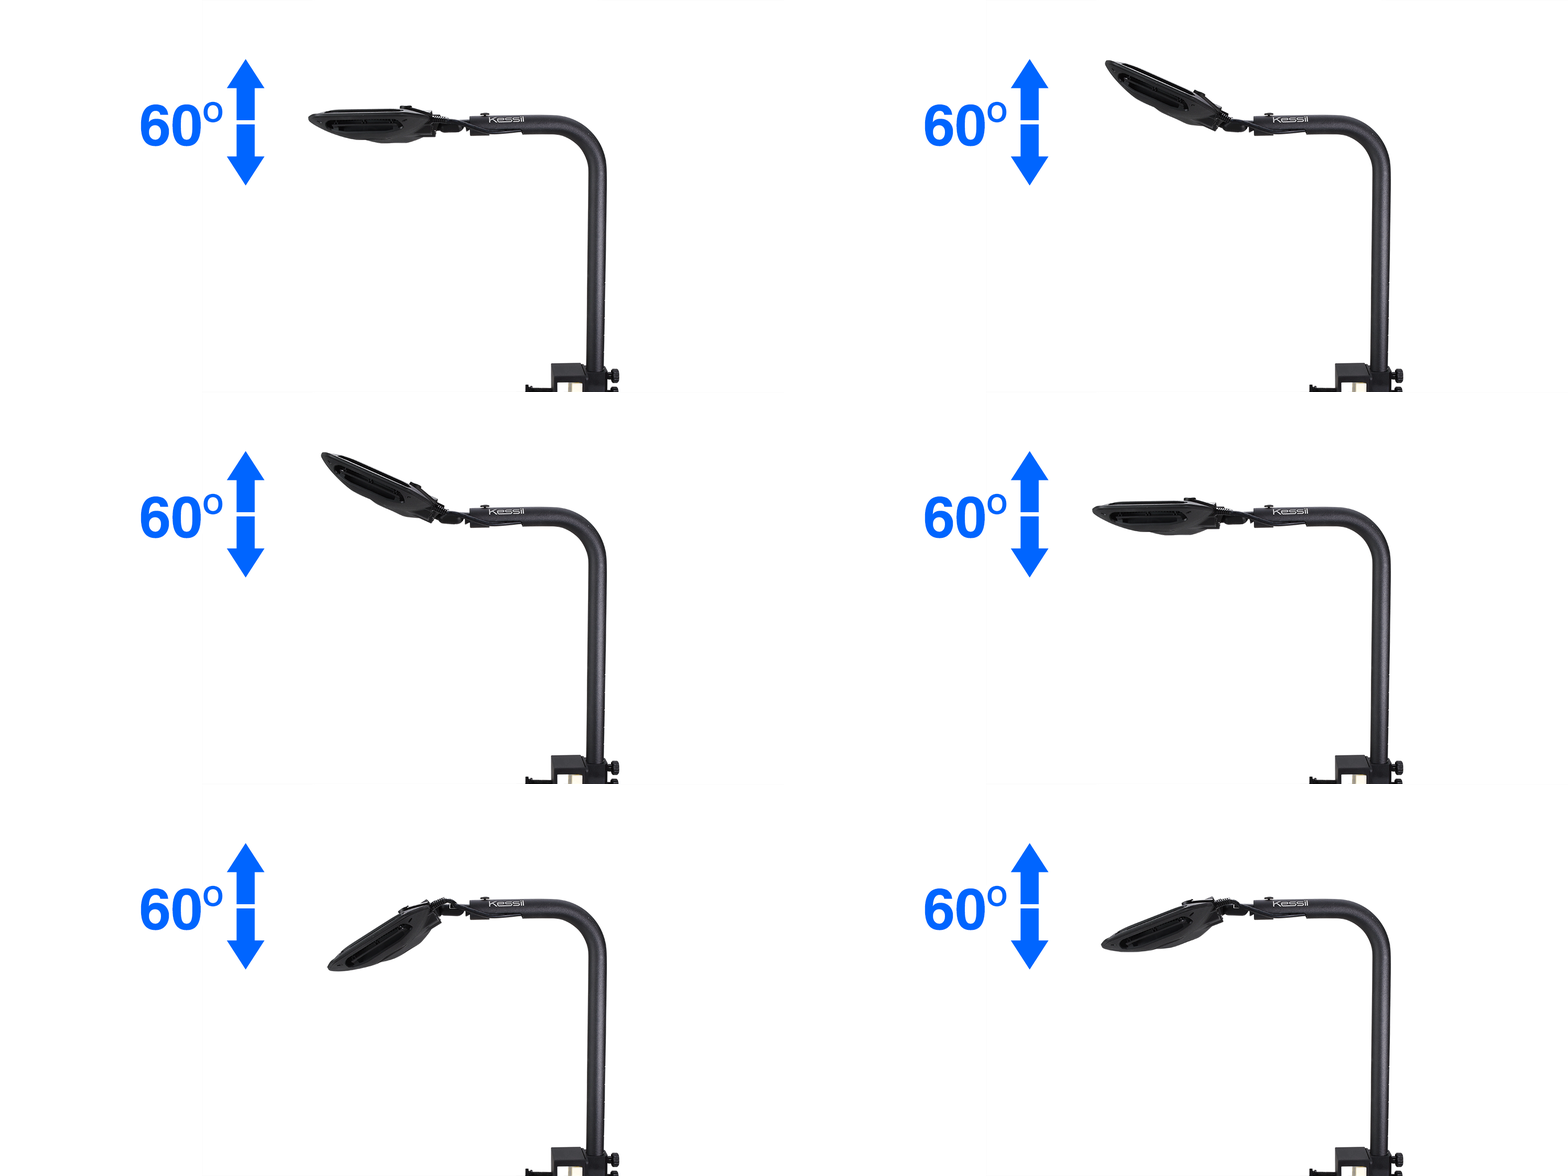
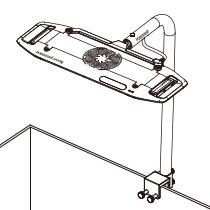
Kessil’s AP9X / AP9XE Mounting Arm is a sleek low profile mounting option for the AP9X / AP9XE. With a new integrated swivel joint, shadowing is a thing of the past. This single arm mount allows for 180 degrees of horizontal rotation and 60 degrees of vertical rotation. The AP9X / AP9XE Mounting Arm is also adjustable in heights and from back to front (for 18" - 24" wide tank). Internal cable management routes cords through the arm making it the perfect mounting option for rimmed and rimless tanks.
Separator
Full Angle
What's in the Box
AP9X / AP9XE Bracket + Slide Bar (x1)
Tooth Lock Washer, M6 (x1)
M6 Cap Head Hex Screw, (L=8mm (top),L=12mm (side)) (x1)
Arm (x1)
Arm Mount (x1)
Tube Adapter (x1)
M4 Flat head hex socket cap, L=12mm (spare part) (x2)
M4 Flat head hex socket cap, L=8mm (x4)
Plastic Stepper (x2)
M3 Thumb Screw (x1)
M5 Flat head Phillips Cap, L=10mm (x4)
M5 Thumb Screw (x2)
5mm M6 hex key (x1)
2.5mm M4 hex key (x1)
Plastic Thumb Screw 3/8-16 (x2)
M4 Wood Screw (x4)
Compatible with
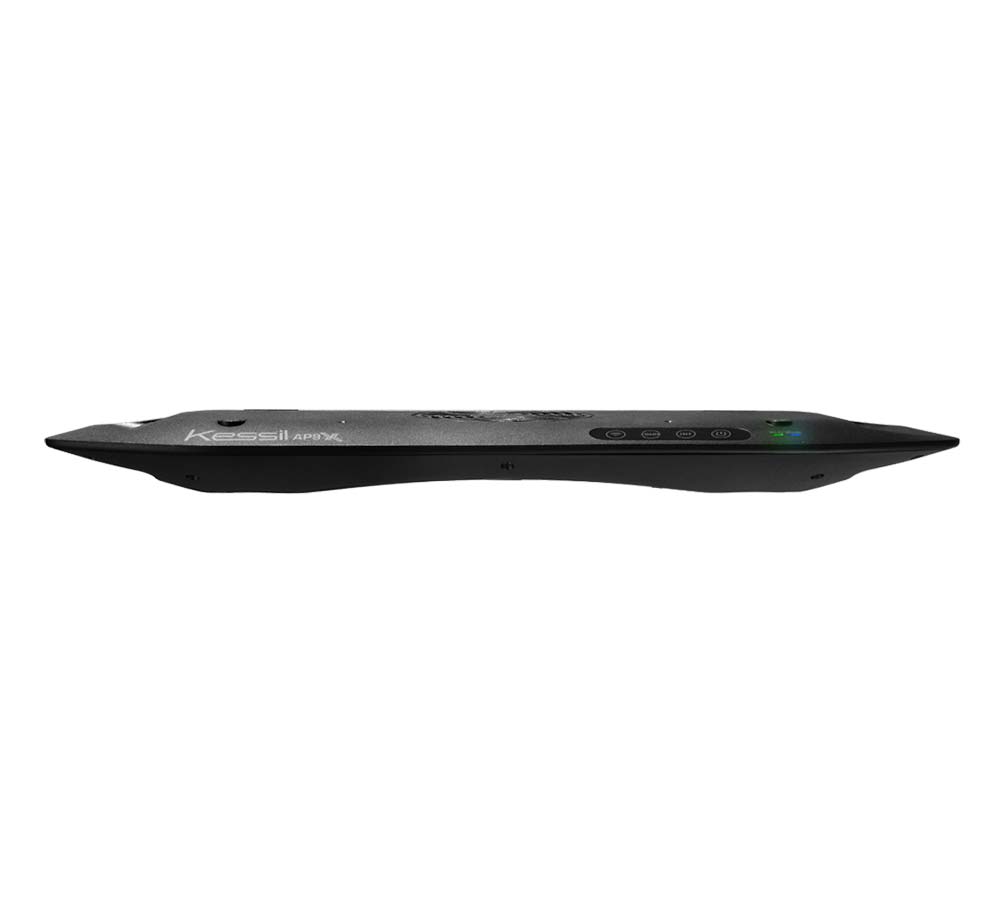
AP9X
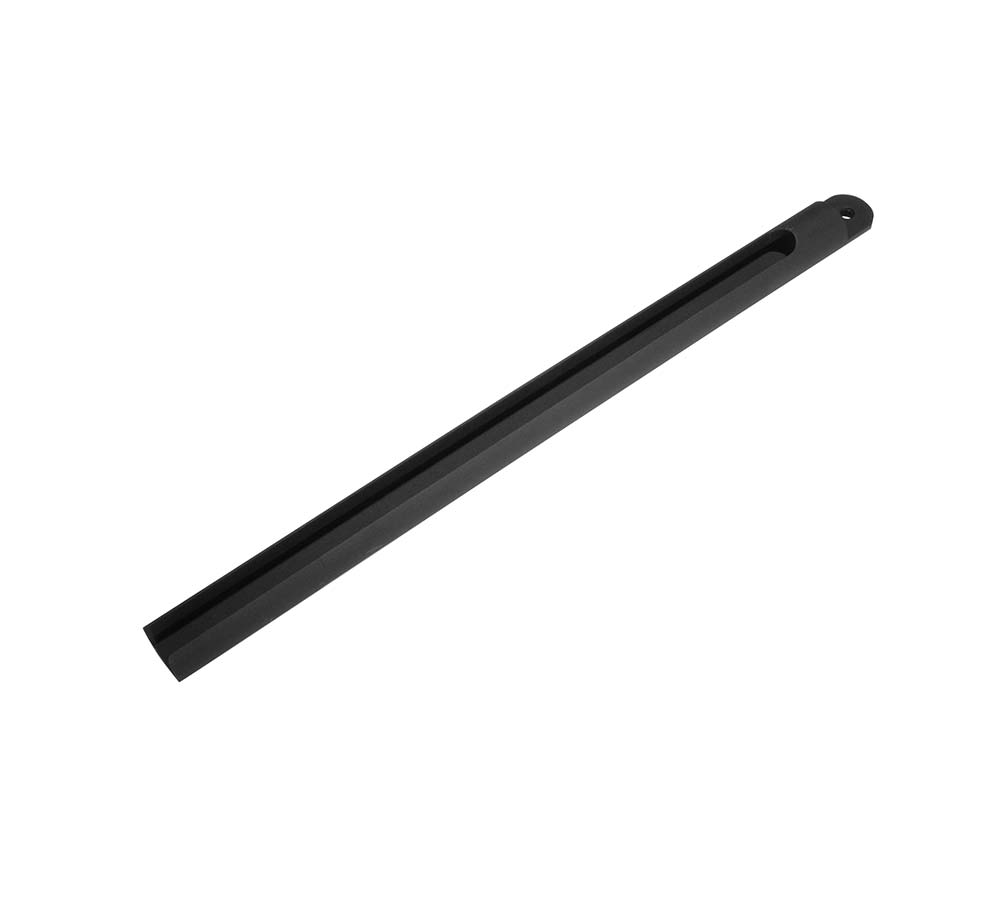
AP9X Mounting Arm Extended Slide Bar
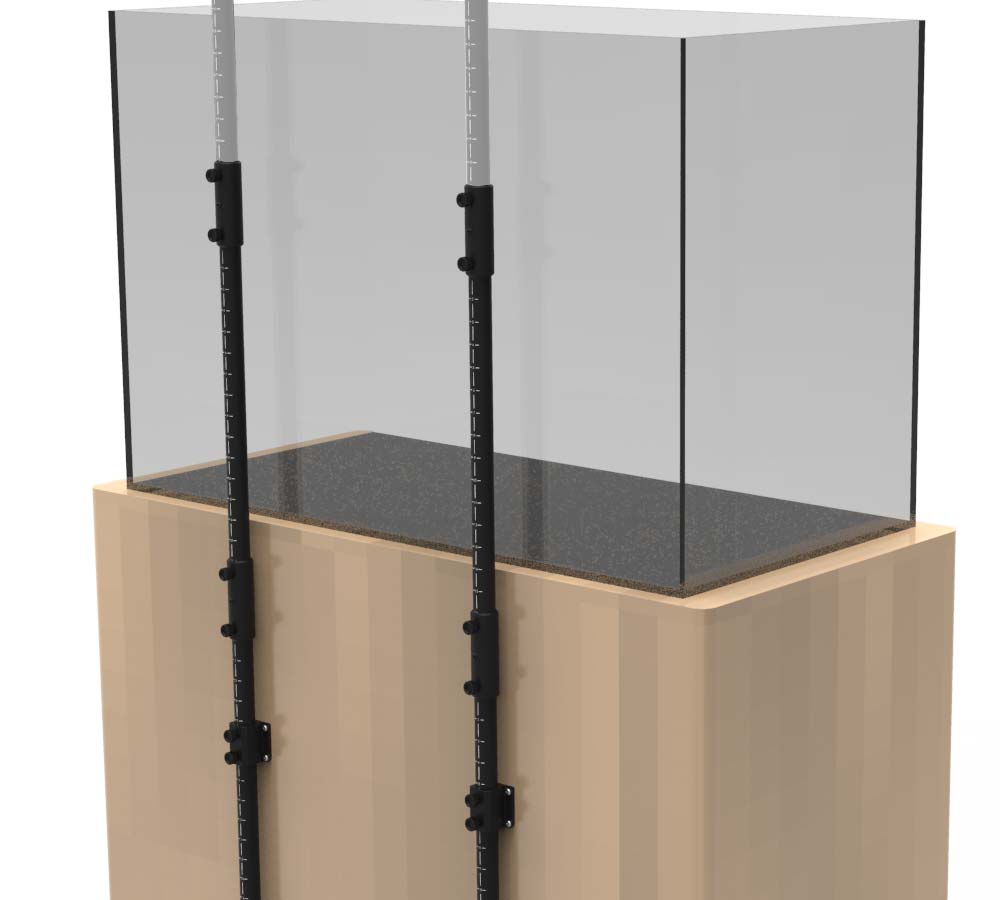
Extension Mount
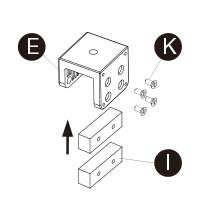
1
Insert two Steppers I into the Arm Mount E and secure them with four M5 Phillips Cap screws K, using a Phillips screwdriver.
*Optional. Recommended for rimless aquariums.
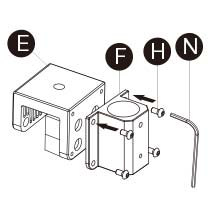
2
Insert four M4 Round Head Hex screws H through Tube Adapter F and into Arm Mount E. Secure with M4 Hex Key N.
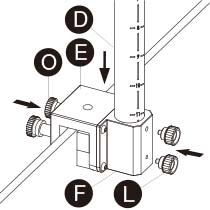
3
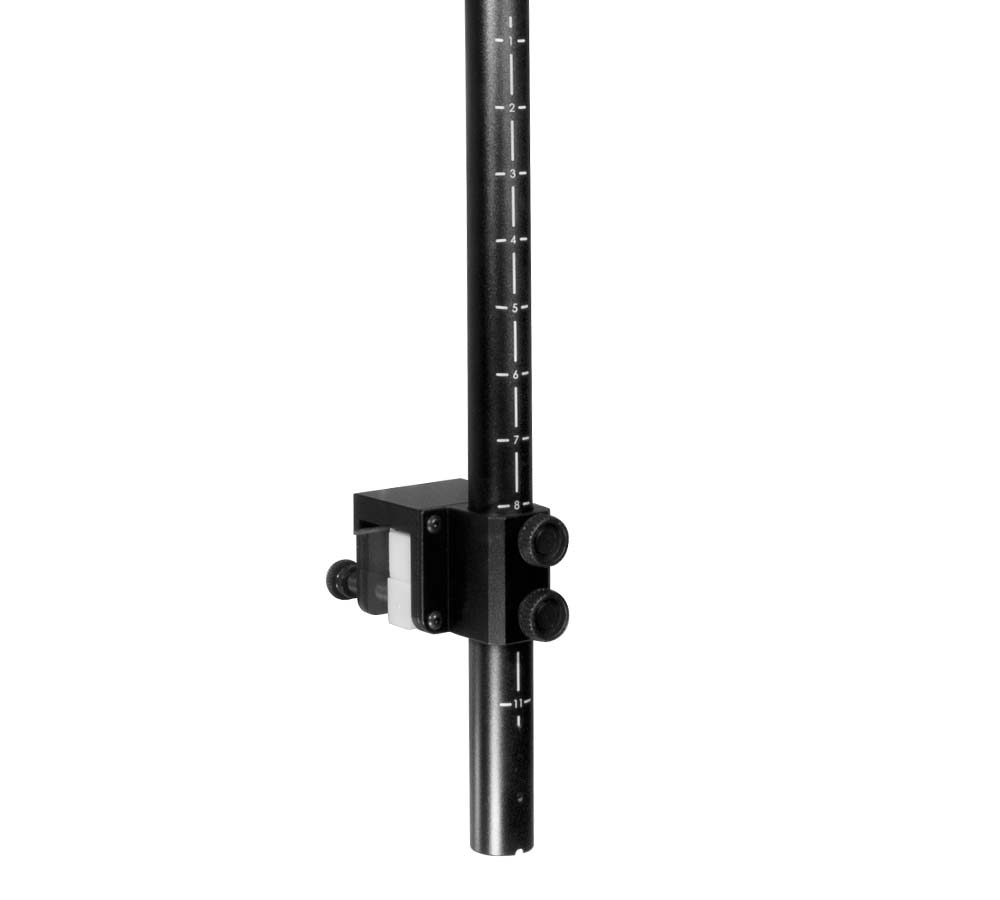
Use two Plastic Thumb Screws 3/8-16 O to secure Arm Mount E to aquarium. Put Arm D into the Tube Adapter F and adjust to the desired height. Markings facing the back. Secure them with two M5 Thumb Screws L.
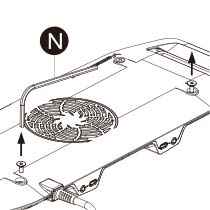
4
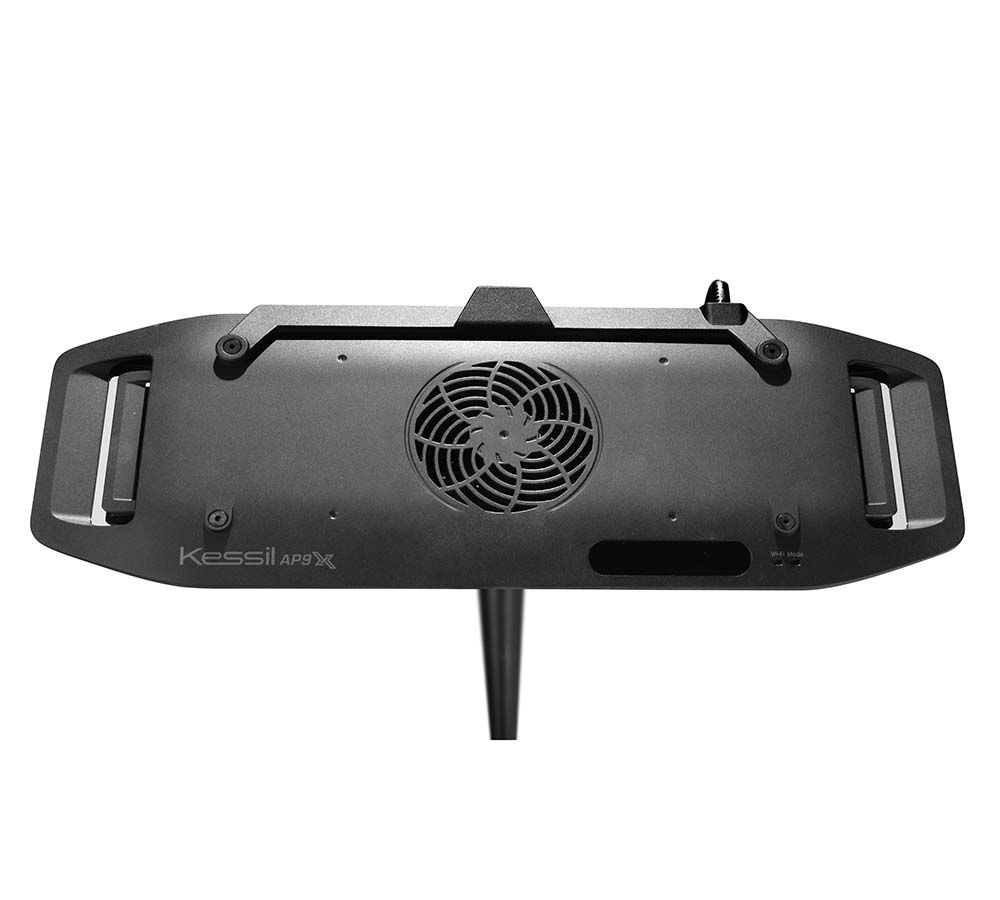
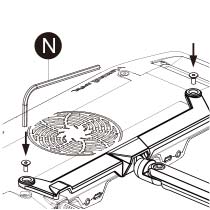
Remove the back two screws from the top side of AP9X, using M4 Hex Key N. Keep these two screws for the next step.
5
Use M4 Hex Key N to secure the AP9X Bracket + Slide Bar A and AP9X together with the two M4 hex socket cap screws from Step 4.
6
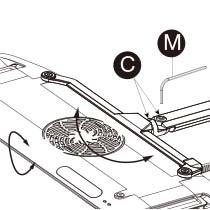
After adjusting the angle of the AP9X Bracket + Slide Bar A, tighten and secure the M6 Cap Head Hex Screw C with M6 Hex Key M.
There are two directions for adjustment: left/right and up/down.
7
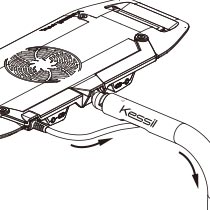
Fit the AP9X power cord through the slot on the Arm D and all the way to the bottom. Slide the AP9X and AP9X Bracket + Slide Bar A into Arm D.
8
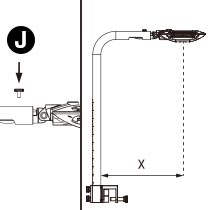
Adjust the position of the Slide Bar according to your aquarium width. Secure with M3 Thumb Screw J. Length X should be half of your aquarium width. For 18” width, X=9”; For 24” width, X=12”.
9
Installation completed.
Please be cautious when making adjustments.